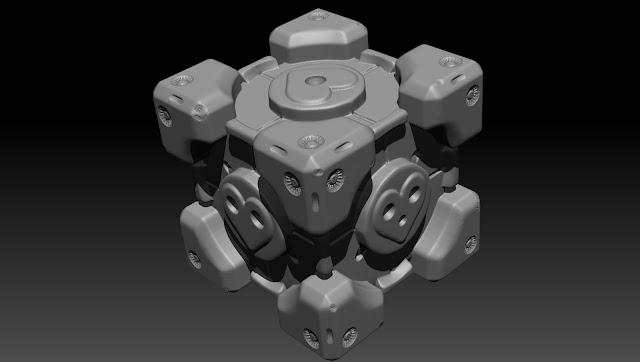
Week 6 - Companion Cube P2
For week 6 we had to take the companion cube into zbrush and bake its maps!
Firstly I re-typoligized in maya to smooth it out and turn all the tri's to quads (Zbrush doesn't like tri's); I then took that high poly version and brough it into Zbrush.
In Zbrush the first thing I did was use the Dynamesh tool and cranked the resolution from 128 to 400. This would give me all the typology I need to start adding polish. Then I just imported some brushed provided by our instructor Nick and got to work!
I added divides, screws, bumps and scratches; all the nice things.
Here's how it came out:
Aaaaaand that's about it. I really started to go off model with this one and tried to make a more "polished" version. I really like how it came out! Only thing left is to texture next week.
Thanks for reading.
Thanks for reading.


No comments:
Post a Comment