Monday, January 30, 2023

Week 18 - 3D Art

 
Creature Box - p3


And here we are, the finale of the creature box project.

This week we were tasked wiiiiith:

textures, compiling, creation of a rig + skin weighting, posing the character, putting it in a scene and lighting it.  I (and a few others) also had to finish properly Retypoligizing, UV'ing, and baking from last weeks assignment.

Suffice to say, had a bit to do. But we got it done! (on time somehow)

So here: how it came out


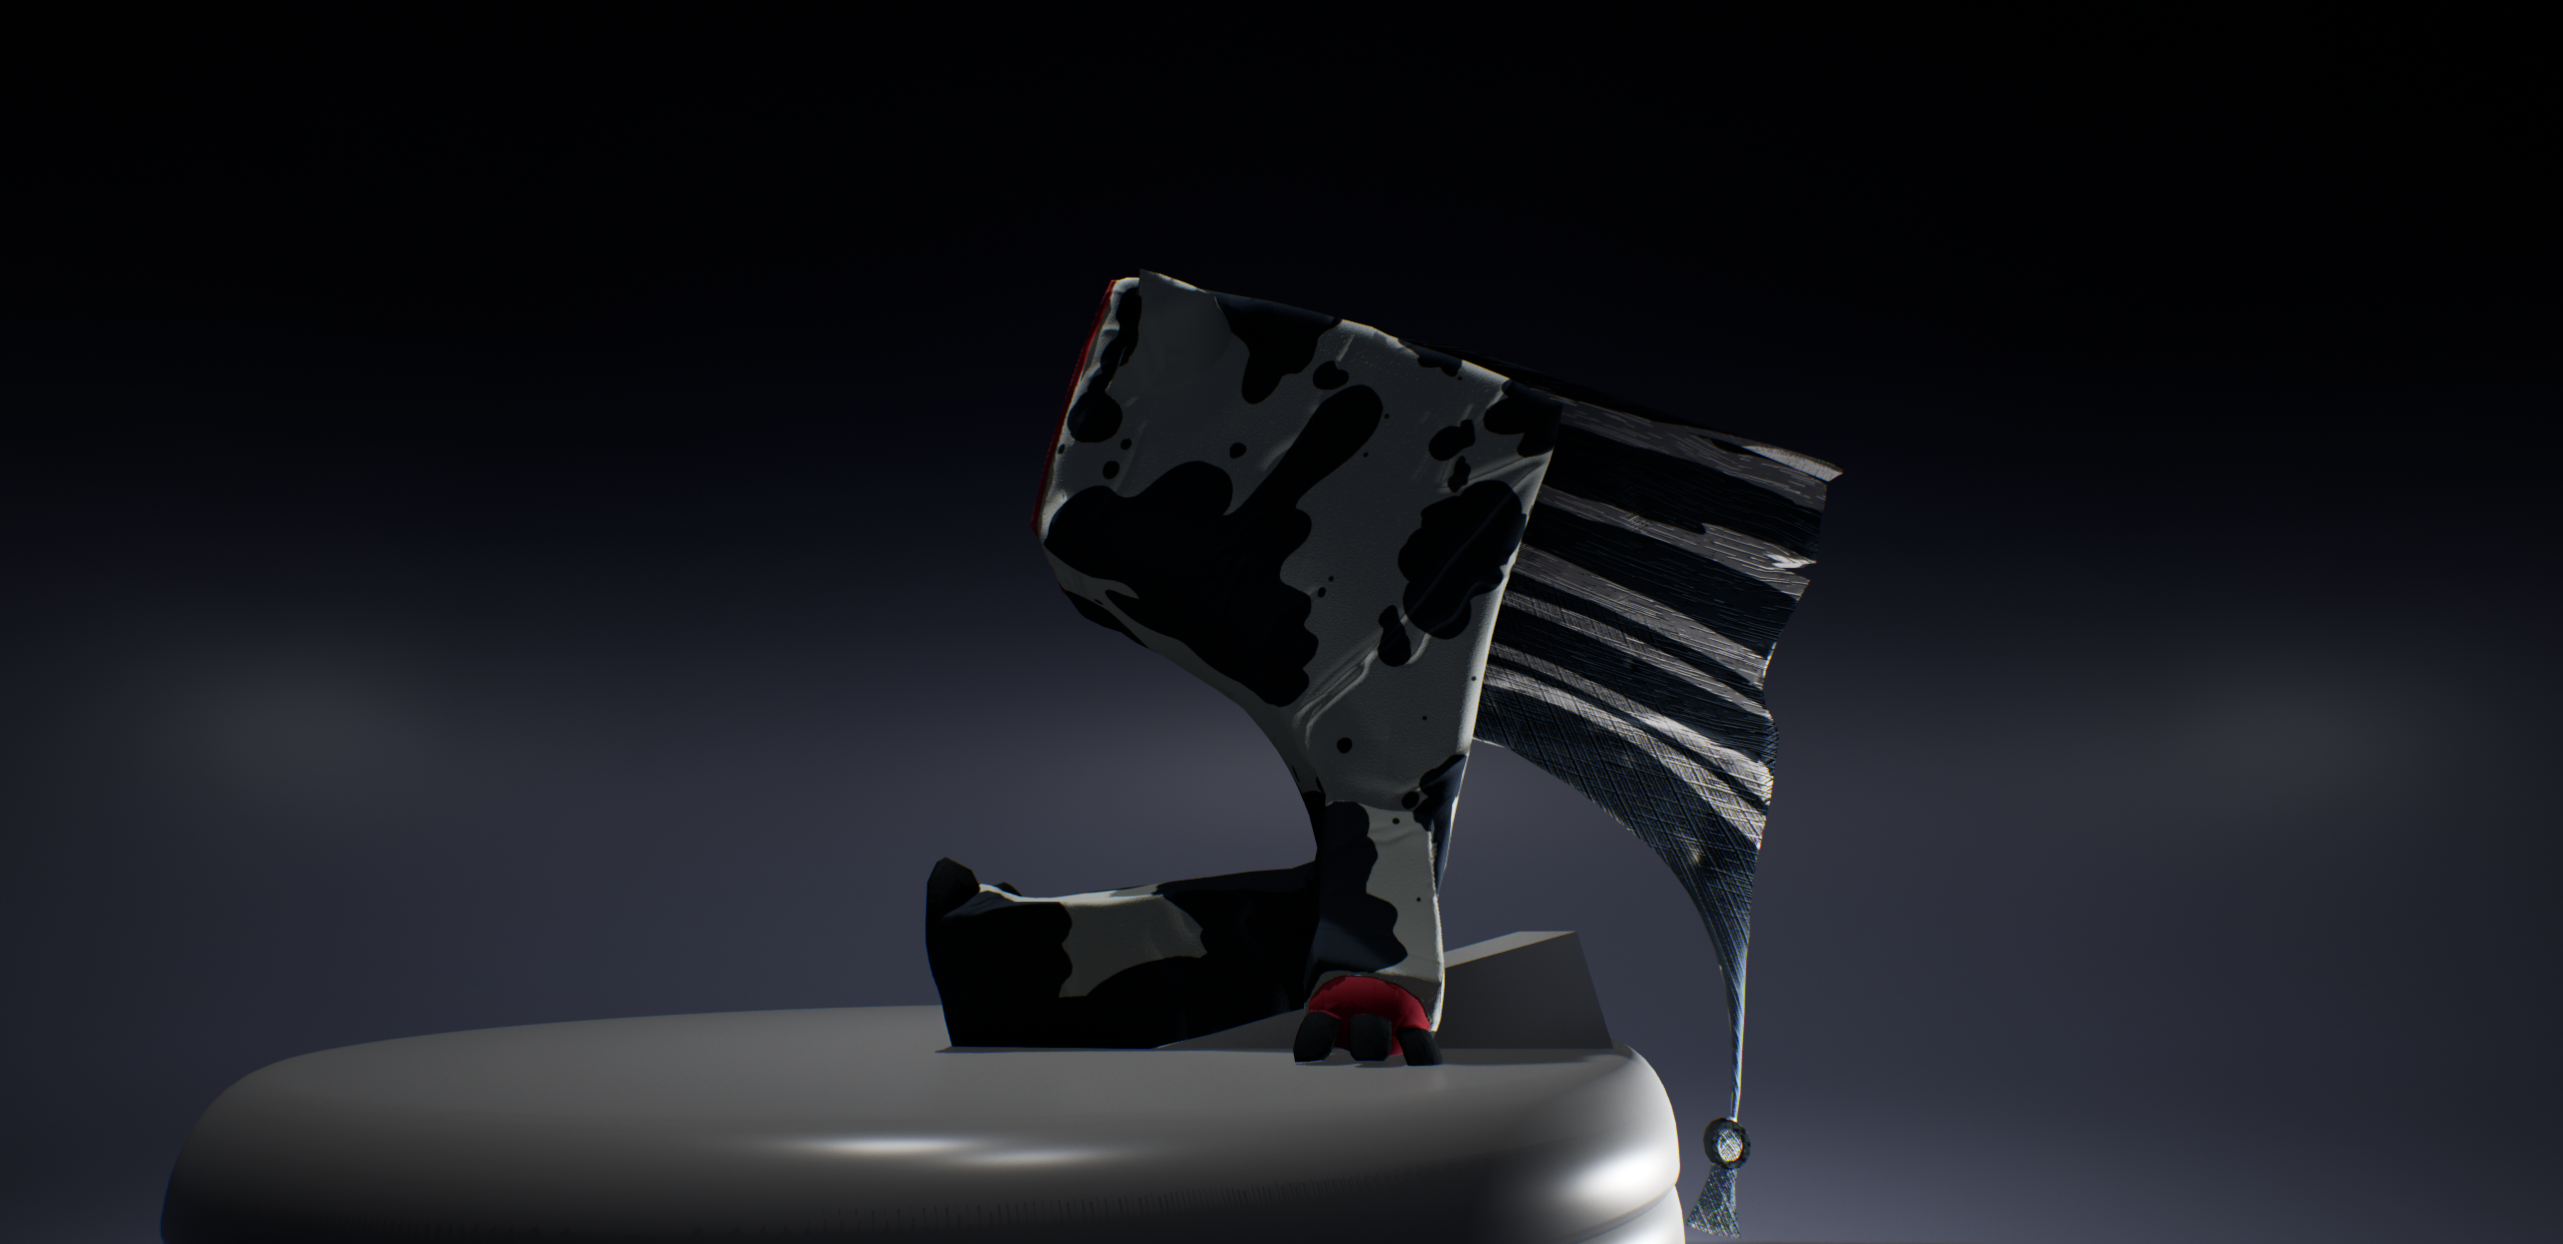
So yeah! It actually came out pretty well. Still not a fan of zbrush or soft body modeling for that matter, but it works.

Here's some step by step stuff:

Retop/UV's in maya


Baking and Texturing in substance:


That's it.

Thanks for reading


Friday, January 27, 2023

Week 17 - Common art


Lighting Workshop part 3


Words words words. This week we had to play with the textures to get unique effects with reflection's and lighting.

Pretty cut N dry. Here's how it came out:


And here's some internals for my professor:


Cube king.

That is all, see ya.


Tuesday, January 24, 2023

Week 17 - 3D Art

 
3D Art - Creature box p2

God.

Alright. Where to start.

Firstly, my teacher gave me plenty of notes how to improve last weeks model. Several parts, which should've taken like 2 - 3hour max? 6 - 7 hours. 

From consistent crashes, to constant lag, to just learning more about zbrush: this sh*t took way too long.


Anyways. Finally at like 10pm I can start retypoligizing. Surely taking like 3X as long with zbrush polish won't effect when I turn this- 


Oh no

Anyways. Here's how it came out: 


Yeah. There ya go.

We're also suppose to do UV's but honestly? I don't wanna be up till 5am. 

Here's an auto UV for now.

Adios. Thanks for reading.


Friday, January 20, 2023

Week 16 - Common Art

 
Lighting Workshop - P2


This weeks assignment was bland.

We learned about uding HDRI's, making sure to light our shots in unreal properly, using post process volumes, all that. 

Most we already learned from previous assignments/last semester. Except HDRI's, which I found particularly hard to set up  in regards to lighting/framing; and overall never really looked that good against my stylized objects. It felt very limited in what you can use them with, tho that is my opinion on them.

Anyways, then I made a scene going down a checklist. 

Here's how it came out:


There. That's it. How did 5 hours go into this? Your guess is as good as mine.

Use HDRI backgrounds if you wanna work with a very realistic background to help show off models. Otherwise I really don't see their purpose VS just using a textured skybox and doing the lighting manually. 

That's about it. Thanks for reading.

See ya.

Monday, January 16, 2023

Week 15 - 3D Art 2


Week 15 - Creature Box


I hate Zbrush.


We're starting making a creature based of the designs of creaturebox/insomniac games. The goal is to do a soft body creature and go from a high poly, to retop/low poly, to in engine.

 So one one hand stylish and interesting designs:

On the other hand:


Bruh.


So yeah. Get in Zbrush and make the high poly this week.

Here's how it came out:


Yeah.

Gonna work on more wrinkles/flaps tomorrow. But I had to get over multiple hurdles learning this program AGAIN from last spring. Thank you Zach for helping me out (he's linked @ my sidebar)

See ya later.


Friday, January 13, 2023

Week 15 - Common Art

 
Lighting Workshop Week 1


Welp. Spring is here. Birds are singing, suns shining, and I'm doing art.

Yup.

This week we had a special guest come on, Tom, to show us how to properly light a scene (IF you're reading this: Hi Tom) 

He gave us a few sample models/scenes and gave us the rundown, so now we're getting to work.

I chose a dragon cause dragons are cool.


Then I got to work! I used my notes from his lessons + some advice from this article here on the importance of each light. After playing with it for a WHILE... 

Here's how it came out:


My original idea was to have the strong light illuminating the inside of the mouth and the extended breast of the dragon, to make it seem like it was getting ready to breath fire. But considering the lessons and examples from Tom I toned down the front lighting a LOT to let the other lights shine better.

I also found a nice balance with the key and back lights positions/brightness, and adjusted them in a way so they seemingly switch roles depending what angle you view the dragon from! (Something something "yin and yang")

So yeah. That's it. A shorter project to start, but it feels like a nice warmup.

See ya later.


Research Project

  Hardsurface / 3D Modeling Tutorial   Intro   Hi. I’m Christian Zwick, call me Zwick.        I am a 3d artist, specifically a ha...